
How to Get a Document Notarized in Canada
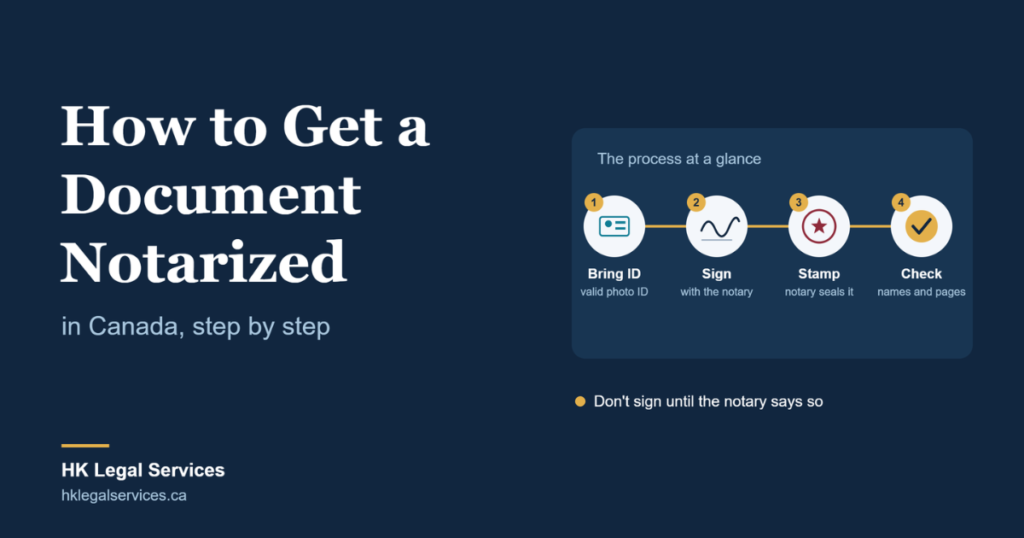
You’ve been told a document needs to be notarized, and you’re not sure where to start. Who do you go to? What do you bring? Do you sign first, or later? These are the questions we hear most, and the answers are simpler than they seem once you know the order of steps. This guide walks you through the whole process, from checking what the receiving office wants to what to do after you leave the notary’s office. It also covers the mistakes that cause most delays, so you can get it right the first time. The Short Answer: How Do You Get a Document Notarized in Canada? To get a document notarized in Canada, follow these steps: Fees and appointment availability vary by notary and province, but with the right preparation, most simple documents take under half an hour. Step 1: Confirm What the Receiving Party Actually Needs Before you book anything, find out what the person or organization asking for the document expects. “Notarized” can mean different things depending on the situation, and a quick check now can save you from doing it twice. Ask them: If you can, get their requirements in writing. It protects you if anything gets rejected later. Step 2: Identify the Type of Notarial Act You Need Notaries do a few different things, and knowing which one applies helps you prepare properly. In our guide on what a notary public does in Canada, we cover each in detail, but here’s the short version: Witnessing a signature. You sign a document in front of the notary, who confirms your identity and that you signed. Common for powers of attorney, consent letters and agreements. Administering an oath or declaration. You swear or affirm that the contents are true. Common for affidavits and statutory declarations. Certifying a copy. The notary compares a copy against your original and certifies it as a true copy. Common for passports, diplomas and ID documents. Each one has slightly different preparation. For a signature or oath, you bring an unsigned document. For a certified copy, you bring the original (and often a copy, though some notaries make it themselves). Step 3: Prepare Your Document A well-prepared document makes everything faster. Here’s what to do. Complete it, but don’t sign it. Fill in all the blanks, check names and dates, and make sure every page is there. The notary has to watch you sign, so leave the signature line empty. Use a clean, final version. Avoid correction fluid or handwritten changes. If something needs fixing, print a new copy. Check the details match your ID. Names, spellings and dates should match your government-issued ID. A small mismatch, such as a missing middle name, can cause delays or rejection. Bring all pages and attachments. If the document has exhibits or schedules, bring them in the right order. Notaries often need to see the whole document, and some will stamp every page or attach a certificate. Bring extra copies if you need them. Some people notarize two or three copies at once, especially for travel or applications that need originals in more than one place. Don’t staple or unstaple after notarization. Once a notary has stamped and assembled a document, changing the pages can invalidate it. If your document isn’t in English or French, tell the notary in advance. A notary generally has to understand what they’re notarizing, and many won’t certify something they can’t read. You may need a certified translation first. Step 4: Gather Valid ID Identity checks are the heart of notarization, so this step matters more than most people expect. Bring valid, government-issued photo ID. Common acceptable options include: The ID should be current. Expired ID is usually refused. If you’ve changed your name, bring supporting documents such as a marriage certificate or change-of-name certificate, and tell the notary ahead of time. Some notaries ask for a second piece of ID in certain situations, so it’s worth asking when you book. If the signer has no photo ID at all, the notary may have alternative procedures, but it’s up to them, and not all will proceed. Step 5: Find and Book an Authorized Notary Not every person with a stamp is authorized to notarize, so check before you book. In common-law provinces (such as Ontario, Alberta and Nova Scotia), notaries public are typically appointed or recognized by the province, and in many cases the notary is also a lawyer. In Ontario, for example, many notarizations are done by lawyers. You can learn more through your provincial law society, such as the Law Society of Ontario. In British Columbia, notaries public are a separate regulated profession, overseen by the Society of Notaries Public of BC. In Quebec, notaries are civil-law notaries regulated by the Chambre des notaires du Québec, and their role goes beyond what a common-law notary does. When you contact a notary, ask: Choosing someone with experience in your type of document makes a real difference. For example, a notary who regularly handles documents for use overseas will know what foreign offices expect. Our Notary Services team can review your document before the appointment so you know what to bring and what to expect. Step 6: Attend the Appointment Here’s what a typical appointment looks like. Be patient with the questions and checks. They’re not being difficult. Each step protects you and the document from fraud and later challenges. Special situations at the appointment: Step 7: Check the Notarized Document Before You Leave Don’t rush out the door. Take a minute to check: Fixing a mistake at the appointment takes seconds. Fixing it later can mean going back to the beginning. Step 8: Take Care of Next Steps Once the document is notarized, you may not be finished. If the document stays in Canada, you’re usually ready to submit it to the bank, court, school, employer or agency that asked for it. If the document is going to another country, you’ll likely need an apostille (for Hague Convention